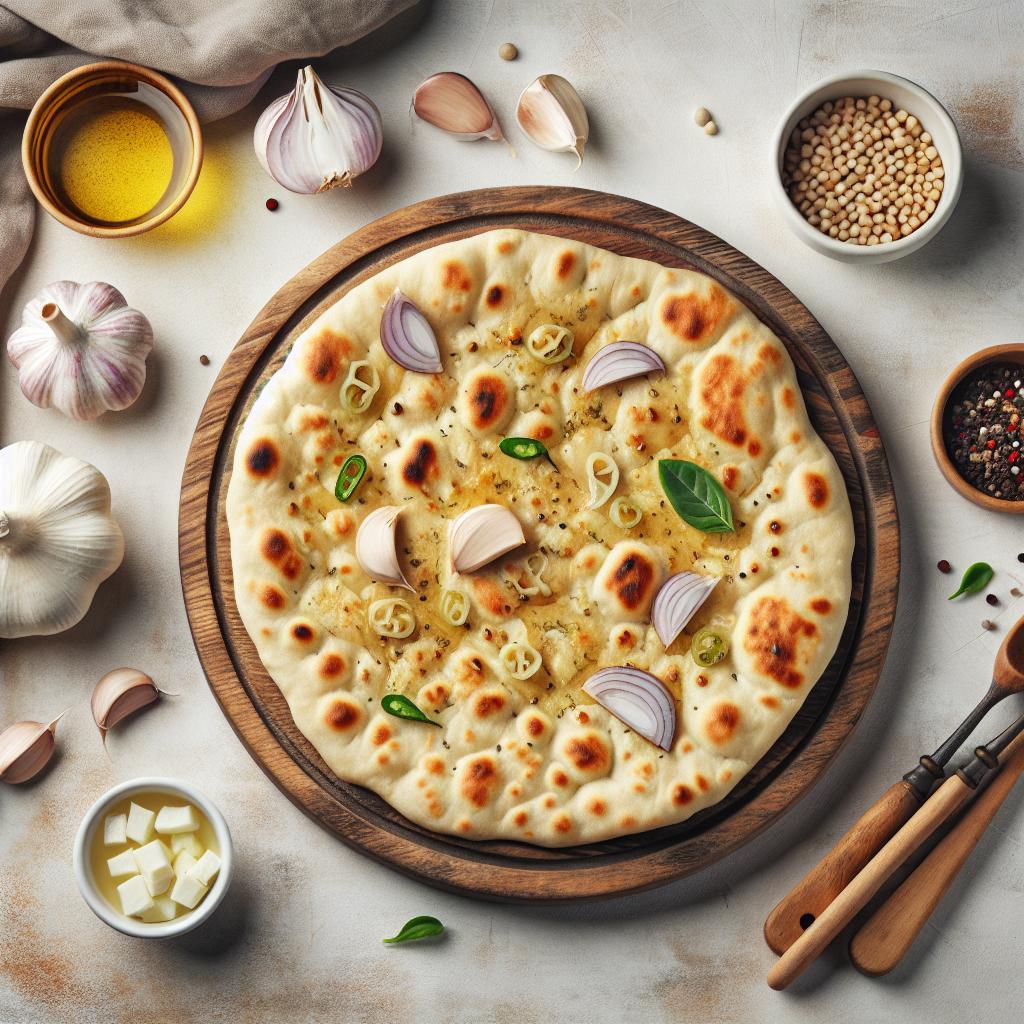
There’s something almost magical about tearing into a warm, fluffy piece of garlic naan-its golden, buttery surface infused with fragrant, roasted garlic that instantly awakens your senses. This beloved Indian flatbread, with its perfect balance of soft chewaterss and slight crisp, is more than just a side dish; it’s a testament to the art of simple ingredients transformed by time-honored technique. In this article, we invite you to master the craft of homemade garlic naan, uncovering the secrets behind its irresistibly savory flavor and pillowy texture. Whether you’re a seasoned cook or a curious foodie, get ready to embark on a culinary journey that will elevate your meals and bring the comforting warmth of Indian kitchens right to your own home.
Master the Art of Homemade Garlic Naan brings an irresistible fusion of tradition and flavor right to your kitchen, inviting you on a sensory journey into the heart of Indian cuisine. Originating as a cherished staple from the tandoor ovens of northern India, this soft, pillowy bread enhanced with aromatic garlic and fresh herbs elevates any meal with its savory charm. Whether paired with a spicy curry or enjoyed alone, crafting garlic naan from scratch is a culinary delight that rewards patience and passion with every bite.
Prep and Cook Time
Preparation: 20 minutes
Resting/Dough Rise: 1 hour 30 minutes
Cooking: 15 minutes
Total Time: 2 hours 5 minutes
Yield
Makes 6 medium-sized garlic naans
Difficulty Level
Medium – Perfect for home cooks eager to expand their bread-making skills with a flavorful twist.
Ingredients
- 2 ½ cups all-purpose flour, sifted
- 1 tsp active dry yeast
- 1 tsp sugar
- ½ tsp salt
- ¾ cup warm water (about 110°F/43°C)
- ¼ cup plain yogurt, at room temperature
- 2 tbsp vegetable oil, plus extra for cooking
- 4 cloves garlic, finely minced or grated
- 2 tbsp fresh cilantro, finely chopped
- 2 tbsp unsalted butter, melted (for brushing)
Instructions
- Activate the yeast: In a small bowl, combine warm water, sugar, and active dry yeast. Let it sit for 10 minutes until frothy. This signals the yeast is alive and ready to work its magic.
- Prepare the dough base: In a large mixing bowl, whisk together sifted flour and salt. Create a well in the center.
- Combine wet ingredients: Add the yogurt, vegetable oil, and activated yeast mixture into the well. Mix gently with a spoon or your fingers until a shaggy dough forms.
- Knead for elasticity: Transfer dough onto a lightly floured surface. Knead vigorously for 8-10 minutes until smooth and elastic. If too sticky, sprinkle flour sparingly, but resist adding too much to keep the dough tender.
- First rise: Shape the dough into a ball, place it in a greased bowl, and cover with a damp cloth or plastic wrap. Let it rise in a warm spot for 1 hour or until doubled in size.
- Prepare garlic herb infusion: While the dough rises, combine minced garlic and chopped cilantro in a small bowl. Stir together with a pinch of salt to release the flavors.
- Shape the naan: After rising, punch down the dough gently. Divide into 6 equal portions. Roll each ball into an oval or teardrop shape about ¼ inch thick, ensuring even thickness to promote proper puffing.
- Infuse garlic flavor: Lightly brush each dough piece with oil, then sprinkle or gently press the garlic and cilantro mixture over the surface, folding slightly to incorporate the flavors.
- Cook the naan: Heat a heavy-bottomed skillet or cast iron pan over medium-high heat. Place one naan on the hot pan; cook for 1-2 minutes until bubbles form and the underside is golden brown. Flip and cook the other side for another 1-2 minutes. For authentic charred spots, carefully hold the naan over an open flame briefly or under the broiler for 30 seconds, if desired.
- Finish with butter: Remove naan from the pan and immediately brush with melted butter to add a lush finish. Repeat for all pieces.
Tips for Success
- For a softer naan, incorporate a tablespoon of milk into the dough during the mixing stage.
- Ensure your yeast is fresh and water temperature is accurate; too hot water can kill the yeast, while too cold won’t activate it.
- To double the garlic punch, mix some garlic into the melted butter used for brushing after cooking.
- If you don’t have a tawa or cast iron pan, a non-stick skillet works well-just avoid overcrowding the pan to maintain heat.
- Naan dough benefits from a long, slow rise in the fridge overnight, enhancing flavor and texture. Bring back to room temperature before cooking.
- For a fragrant twist, experiment with finely chopped mint or fenugreek leaves in addition to cilantro.
Creative Serving Ideas to Complement Your Garlic Naan
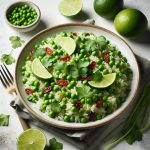
Enjoy your homemade garlic naan warm with a variety of vibrant dishes. Pair it with rich, creamy curries like butter chicken or paneer tikka masala to soak up every luscious morsel. Create a colorful platter accompanied by homemade chutneys such as tangy mango or cooling mint yogurt. For a lighter option, wrap minced grilled vegetables or spiced chickpeas in naan for an irresistible street-food style snack. Garnish with freshly chopped cilantro and a sprinkle of sumac or sesame seeds for an added pop of texture and flavor. Don’t forget to serve with a side of cooling raita or a simple cucumber salad to balance the garlicky richness.

| Nutrient | Per Serving (1 naan) |
|---|---|
| Calories | 160 kcal |
| Protein | 5 g |
| Carbohydrates | 28 g |
| Fat | 4 g |
For more tips on Indian bread techniques and recipes, check out our comprehensive Indian bread guide. To deepen your understanding of yeast fermentation science, visit the Encyclopedia Britannica’s yeast overview.
Q&A
Q&A: Master the Art of Homemade Garlic Naan: A Savory Delight
Q1: What makes garlic naan different from regular naan bread?
A1: Garlic naan is essentially naan bread infused with the rich, aromatic flavor of fresh garlic. While regular naan is typically soft and slightly chewy, garlic naan is brushed with garlic butter or oil either during cooking or just before serving, adding a savory punch that elevates its taste to a whole new level.
Q2: Is making garlic naan at home difficult for beginners?
A2: Not at all! Although it may seem intimidating initially, homemade garlic naan is quite straightforward. With a simple set of ingredients like flour, yeast, yogurt, and garlic, plus a little patience for dough rising, anyone can master this beloved bread. The key is in kneading the dough well and cooking it on a hot surface for that perfect char.
Q3: What ingredients are essential for authentic garlic naan?
A3: Authentic garlic naan relies on basic pantry staples: all-purpose flour, active dry yeast, warm water or milk, plain yogurt for softness, salt, sugar, and fresh garlic. Butter or ghee is used for brushing, delivering that luscious finish. These ingredients combine to create the perfect balance of softness and flavor.
Q4: How can I achieve the traditional naan texture at home without a tandoor oven?
A4: While a tandoor oven is the traditional method, a cast-iron skillet or heavy-bottomed pan works beautifully. The key is to preheat the pan until it’s very hot, then cook the naan on one side until bubbles form, flip, and cook the other side until golden brown spots appear. A quick finish under a broiler or on a grill can replicate that lovely char and puffiness.
Q5: Can I customize garlic naan with additional herbs or spices?
A5: Absolutely! While classic garlic naan shines on its own, adding fresh chopped cilantro, nigella seeds, or even a sprinkle of crushed red pepper can impart delightful nuances. Experimenting with these add-ins lets you tailor the bread to your taste and match different dishes perfectly.
Q6: What dishes pair wonderfully with garlic naan?
A6: Garlic naan is a versatile companion in any meal. It complements rich, saucy Indian curries like butter chicken, dal makhani, and palak paneer beautifully. It also shines as a scoop for hummus, baba ganoush, or even as a base for creative wraps and sandwiches.
Q7: How should leftover garlic naan be stored and reheated?
A7: To keep garlic naan fresh, wrap it tightly in foil or place it in an airtight container and refrigerate for up to two days. For reheating, warm it in a skillet over medium heat or pop it in a preheated oven wrapped in foil. This brings back its softness and that irresistible garlic aroma.
Q8: What tips can help enhance the garlic flavor without overpowering the bread?
A8: To balance garlic’s intensity, finely mince or crush fresh garlic and gently infuse it into melted butter before brushing the naan. Mixing garlic with a hint of fresh herbs or a touch of cream can mellow sharpness and complement the bread’s natural sweetness.
Q9: Is garlic naan suitable for a vegetarian diet?
A9: Yes! Garlic naan is wonderfully vegetarian-friendly. It contains no animal products aside from dairy, like yogurt and butter. For vegan alternatives, plant-based yogurt and oils can replace dairy ingredients without compromising flavor.
Q10: Can I make naan dough ahead of time?
A10: Definitely! Preparing the dough a day in advance and letting it rise slowly in the refrigerator can improve flavor complexity. Just bring it to room temperature before shaping and cooking for best results. This prep tip is a game-changer for busy cooks seeking fresh naan on short notice.
Final Thoughts
As you wrap your fingers around a warm, pillowy piece of homemade garlic naan, the fragrant aroma and tender texture remind you why this timeless bread holds a special place in kitchens around the world. Mastering the art of garlic naan is more than just following a recipe-it’s about embracing tradition, savoring each step, and adding your own touch of love to every bite. Whether paired with spicy curries or enjoyed on its own, this savory delight elevates any meal from ordinary to extraordinary. So, roll up your sleeves, dust off your rolling pin, and let the dance of garlic, butter, and dough transform your kitchen into a haven of irresistible flavors. Your homemade garlic naan adventure awaits-ready to be devoured, shared, and celebrated.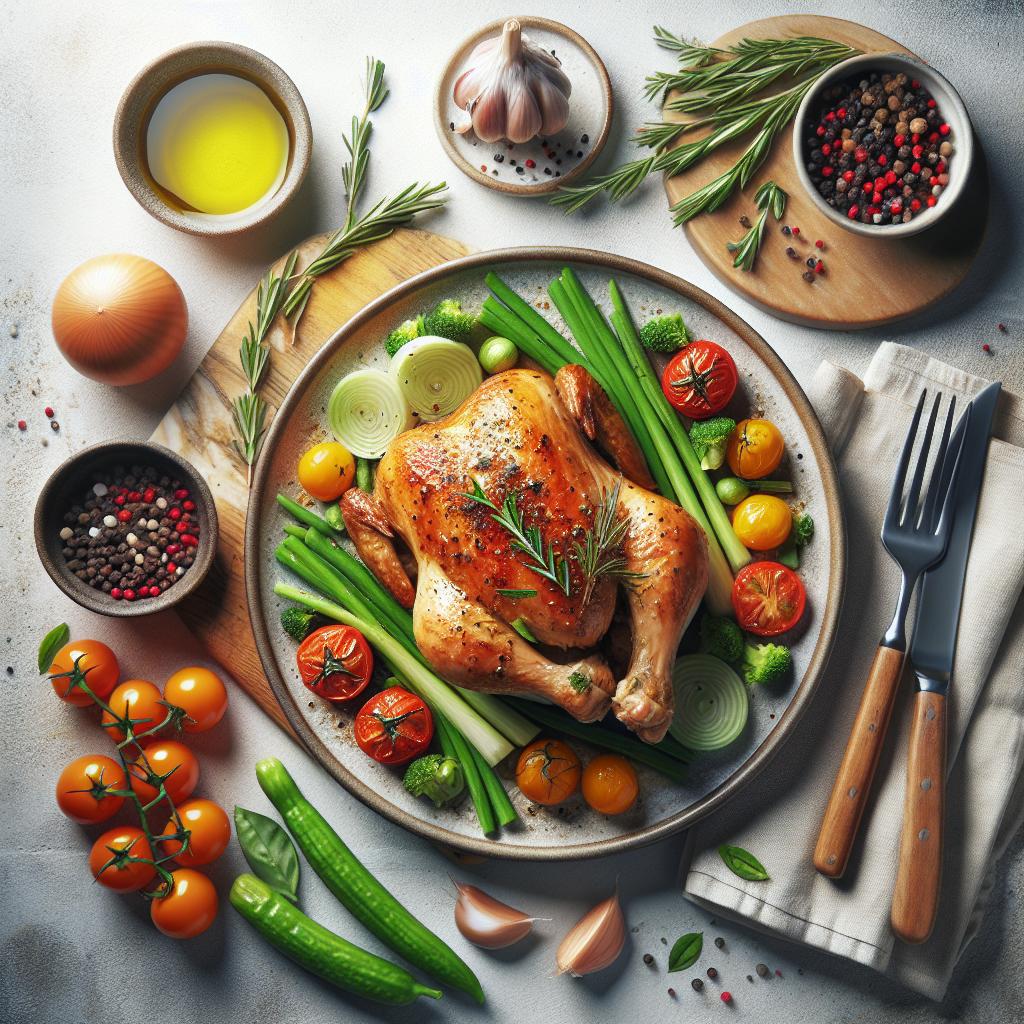


