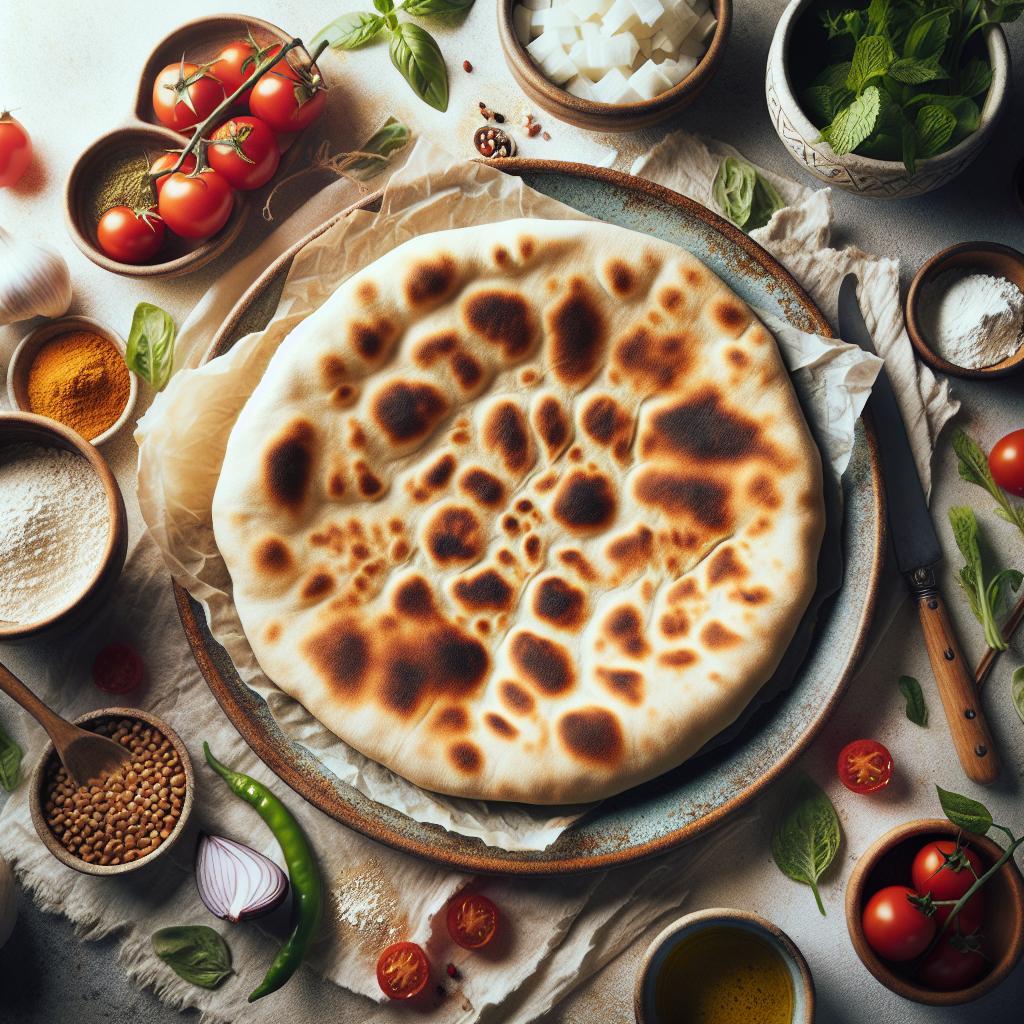
There’s something undeniably magical about pulling a warm, fluffy pita pocket straight from the oven-its golden crust puffed just right, ready to cradle your favorite fillings. Making perfect homemade pita bread might sound like a daunting task, but with a little guidance and simple ingredients, you can master this ancient breadcraft right in your own kitchen. In this article, we’ll unravel the secrets behind that iconic pita puff, guiding you step-by-step through an easy, foolproof recipe. Get ready to roll up your sleeves and bake your way to soft, pillowy pita bread that’s as rewarding to make as it is delicious to eat!
Crafting Perfect Homemade Pita Bread: Easy Steps Inside
Crafting perfect homemade pita bread is an art that blends tradition, technique, and the freshest ingredients to deliver that unmistakable soft, puffy texture and delightful pocket. This Middle Eastern staple transcends mere bread-it’s an invitation to wholesome, interactive meals that bring vibrant colors and bold flavors to your table. Whether you’re recreating family memories or exploring new culinary horizons, this guide ensures your pita breads come out flawless, every single time.
Prep and Cook Time
- Prep: 15 minutes
- Rise: 1 hour 15 minutes
- Cook: 10 minutes
- Total: 1 hour 40 minutes
Yield
8 medium-sized pitas
Difficulty Level
Easy to Medium
Ingredients
- 3 cups all-purpose flour, sifted
- 2 tsp active dry yeast
- 1 1/4 cups warm water (about 110°F / 43°C)
- 1 tbsp olive oil, plus extra for coating
- 1 1/2 tsp kosher salt
- 1 tsp granulated sugar
Instructions
- Proof the yeast: In a small bowl, combine warm water, sugar, and yeast. Let it sit for 10 minutes until foamy-this ensures the yeast is alive and active for a light dough.
- Mix the dough: In a large bowl, whisk flour and salt. Slowly add the yeast mixture and olive oil while stirring with a wooden spoon until the dough starts to come together.
- Knead: Turn dough onto a lightly floured surface. Knead for 8-10 minutes until smooth and elastic. If dough feels sticky, sprinkle a bit more flour, but be mindful-too much flour can toughen the dough.
- First Rise: Lightly oil a clean bowl. Place dough inside, turning to coat with oil. Cover with a damp towel and let it rise in a warm, draft-free spot for about 1 hour, or until doubled in size.
- Divide and shape: Punch down the dough gently and divide into 8 equal portions. Roll each portion into a smooth ball, then flatten into discs about 1/4 inch thick-perfect thickness for puffed pita.
- Second rise: Arrange the discs on a floured baking sheet, cover loosely with a damp cloth and let rest for 15 minutes. This step allows gluten to relax, making the pitas tender.
- Preheat oven: Place a baking stone or inverted heavy baking sheet in the oven and preheat to 475°F (245°C). The hot surface is key to pita puffing perfectly.
- Bake: Carefully place 2-3 pita discs on the hot surface at a time. Bake for 4-5 minutes-watch as the dough balloons impressively, forming the coveted pocket. Flip and bake 1-2 minutes more to lightly brown both sides.
- Cool and store: Transfer baked pitas to a clean towel. Cover to keep soft and warm while baking remaining batches. Store cooled pitas in an airtight container for up to 3 days or freeze for longer storage.
Tips for Success
- For extra-soft pita, substitute half the all-purpose flour with bread flour, which has more protein and helps develop gluten better.
- If you don’t have a baking stone, an inverted heavy-duty baking sheet works just as well to create that high-heat surface.
- Make sure your oven is fully preheated; insufficient heat will yield flat, dense pitas without a pocket.
- Adjust kneading time slightly if dough feels too sticky or dry. It should be smooth, elastic, and slightly tacky.
- Use a spray bottle with water to mist the pita dough lightly before baking for a tender crust.
- Freeze dough balls before baking for an easy “fresh pita” fix anytime-simply thaw and bake when needed.
Creative Serving Suggestions
Authentic pita is incredibly versatile, a perfect canvas for colorful and vibrant meals. Slice your warm, soft pita pockets and fill them with:
- Herbed grilled chicken, fresh cucumber, tomato, and a drizzle of tangy tahini sauce.
- Roasted vegetables with a smear of hummus and sprinkled toasted pine nuts for crunch.
- Classic falafel, pickled turnips, and crisp lettuce with a splash of zesty lemon yogurt dressing.
- A breakfast pita stuffed with lightly scrambled eggs, sautéed spinach, and crumbled feta.
Garnish your pita creations with fresh herbs like parsley, cilantro, or za’atar for an aromatic finish. Serve your pitas with vibrant dips such as babaganoush, muhammara, or a bright fresh garlic sauce to elevate any meal.

| Nutrition | Per 1 Pita |
|---|---|
| Calories | 160 kcal |
| Protein | 5 g |
| Carbohydrates | 30 g |
| Fat | 2 g |
For a deeper dive into related Middle Eastern bread recipes, check out our Homemade Flatbreads article. For expert insights on yeast and fermentation, visit King Arthur Baking’s Yeast Guide. Embrace the joy of crafting perfect homemade pita bread-each step invites warmth, flavor, and a touch of magic to your kitchen experience.
Q&A
Q&A: Crafting Perfect Homemade Pita Bread: Easy Steps Inside
Q1: What makes homemade pita bread different from store-bought versions?
A1: Homemade pita bread boasts a freshness and softness that’s hard to match. Unlike store-bought pita, which can sometimes be dry or contain preservatives, homemade pita offers a fluffy interior and the perfect pocket for stuffing-all customizable with your favorite flours and seasonings.
Q2: What are the essential ingredients for making pita bread at home?
A2: The magic trio for pita includes all-purpose flour, warm water, yeast, and a pinch of salt. A touch of olive oil adds a golden hue and tenderness, but the essentials keep it simple and approachable.
Q3: How do I achieve the iconic “pocket” in pita bread?
A3: The secret lies in high heat and proper dough hydration. When the rolled-out dough balls hit a hot oven or skillet, the moisture turns to steam and puffs up the bread, creating that beautiful pocket. Quick baking ensures the pocket sets before the bread cools down.
Q4: Can I use whole wheat flour for pita bread?
A4: Absolutely! Whole wheat pita brings a nutty flavor and heartier texture. You can swap all-purpose flour for whole wheat entirely or blend the two for a balanced crumb. Just keep in mind whole wheat dough might need a bit more water.
Q5: How long does it typically take to prepare and bake pita bread?
A5: From mixing to baking, expect roughly 2 to 3 hours. This includes kneading, letting the dough rise until it doubles in size (about 1 to 1.5 hours), shaping, and a quick bake of just 3-5 minutes per batch at high temperature.
Q6: What’s the best way to store homemade pita bread?
A6: Store pita in an airtight container or zip-lock bag at room temperature for up to 2 days. For longer freshness, freeze the pitas layered with parchment paper; they thaw beautifully and can be warmed in a toaster oven or skillet.
Q7: Can I add herbs or spices to my pita dough?
A7: Definitely! Adding herbs like oregano, thyme, or za’atar to the dough infuses the bread with an aromatic twist. Just mix your favorite dried herbs into the flour before kneading for pita with personality.
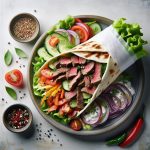
Q8: What are some creative ways to enjoy homemade pita bread?
A8: Pita is a versatile canvas: cut it into triangles for homemade chips, stuff pockets with grilled vegetables and hummus, or use it as a soft base for mini sandwiches. It’s perfect for Mediterranean-inspired feasts or simple weeknight meals.
Q9: Is it necessary to let the dough rest before baking?
A9: Yes! Allowing the dough to rest after kneading relaxes the gluten, making the rolling process easier and resulting in tender pita. The rise time also activates the yeast, essential for that light, airy texture.
Q10: Can I bake pita bread without a traditional oven?
A10: You can! A hot cast-iron skillet or heavy pan on the stovetop mimics the high heat of an oven and yields lovely results. Just cook each side until puffed and golden-an accessible method for those without conventional baking ovens.
In Retrospect
As the warm aroma of freshly baked pita bread fills your kitchen, you’ll realize that crafting this timeless staple at home isn’t just a cooking task-it’s a deliciously rewarding experience. With simple ingredients and straightforward steps, you’ve unlocked the secret to pockets of fluffy perfection, ready to be stuffed, dipped, or simply savored on their own. So next time hunger strikes, skip the store-bought and embrace the art of homemade pita-a small culinary triumph that transforms everyday meals into something truly special. Happy baking!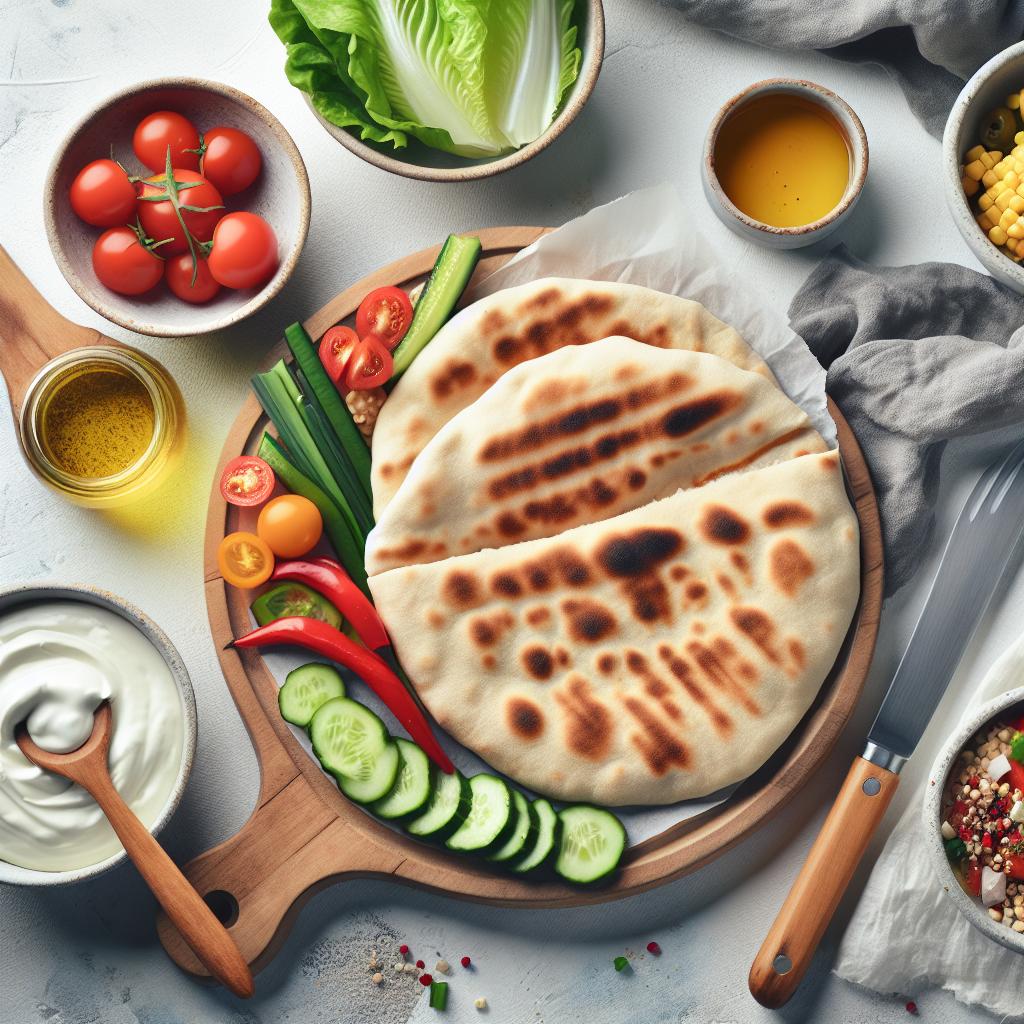


