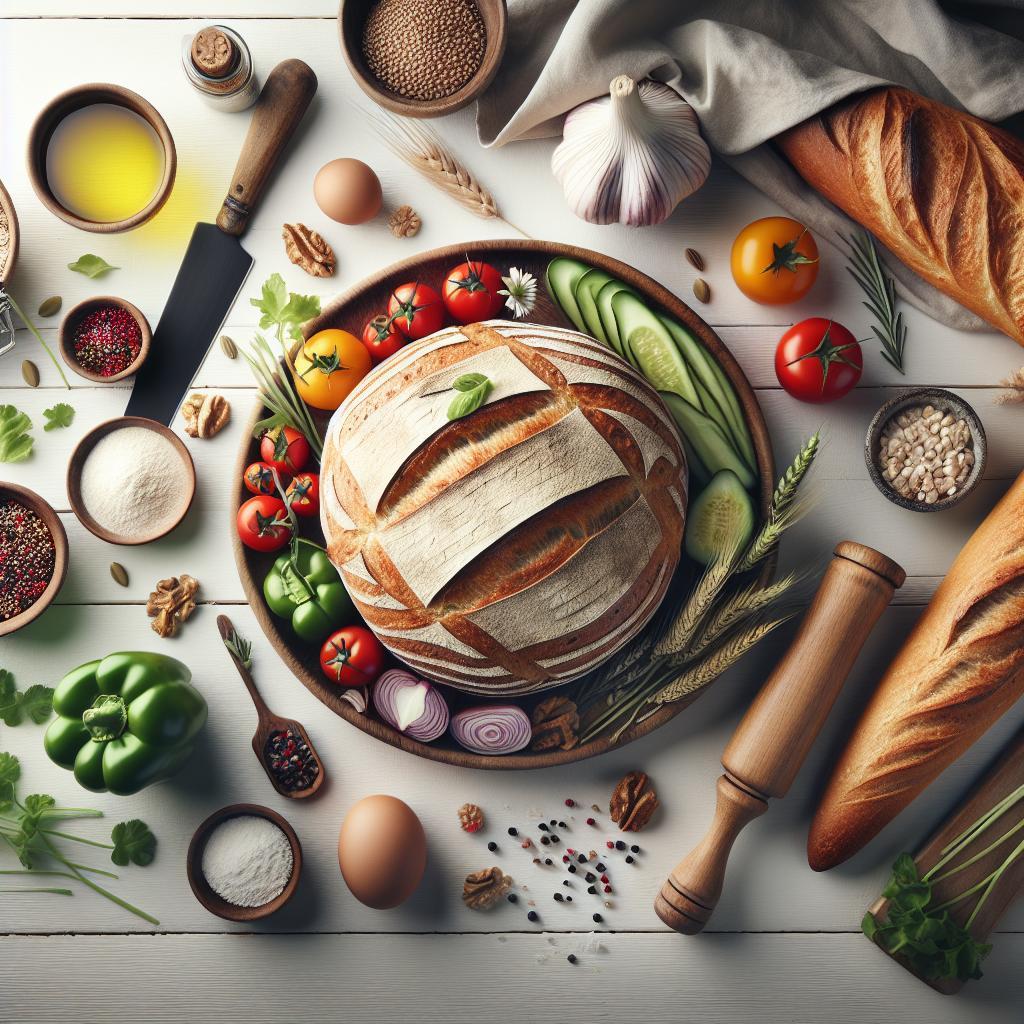
There’s something profoundly satisfying about pulling a golden, aromatic loaf fresh from the oven-its crust crackling, the air filling with the warm scent of homemade bread. Yet, the thought of mastering bread-making from scratch can often feel daunting, tangled in complex techniques and elusive yeast behaviors. Enter batch bread: a transformative approach that breaks down the process into manageable, repeatable steps, turning novices into confident bakers one loaf at a time. In this guide, we’ll unravel the art and science behind crafting perfect homemade loaves with ease, showing you how to fill your kitchen with the timeless magic of bread, batch by batch.
Mastering Batch Bread: Homemade Loaves from Scratch Made Easy
Mastering batch bread unlocks the ultimate satisfaction of pulling warm, aromatic loaves from your oven that taste better than anything store-bought. The beauty of creating homemade bread in batches lies not only in saving precious time but also in the art of crafting consistent, flavorful loaves that fill your kitchen with comfort. As a longtime baker, I’ve discovered how the science behind dough hydration, fermentation, and ingredient selection blends seamlessly with practical techniques to elevate simple ingredients into treasures of texture and flavor.
Prep and Cook Time
- Preparation: 20 minutes
- First Rise: 1 hour 30 minutes
- Shaping and Second Rise: 45 minutes
- Baking: 30-35 minutes
- Total Time: About 3.5 hours
Yield
Produces 4 medium-sized artisan-style loaves, perfect for family sharing or gifting.
Difficulty Level
Medium – Ideal for home bakers looking to deepen their bread-making skills with batch techniques.
Ingredients
- 8 cups unbleached all-purpose flour, sifted
- 3 ½ cups lukewarm water (around 75°F/24°C)
- 2 tbsp active dry yeast
- 3 tbsp fine sea salt
- 2 tbsp honey or maple syrup (optional for mild sweetness)
- 2 tbsp extra virgin olive oil (for a tender crust)
Instructions
- Activate the yeast: In a large mixing bowl, dissolve active dry yeast in lukewarm water with honey. Let it bloom for about 10 minutes until foamy. This step ensures your yeast is alive and ready to create that perfect rise.
- Mix the dough: Gradually add sifted all-purpose flour and sea salt into the yeast mixture. Stir with a wooden spoon until the dough starts to form-it will be sticky but cohesive.
- Knead for structure: Turn the dough onto a clean surface and knead for about 8-10 minutes until smooth and elastic. Alternatively, use a stand mixer with a dough hook on medium speed for 6 minutes. Add olive oil halfway through kneading to enhance dough pliability.
- Bulk fermentation: Shape the dough into a ball and place it in an oiled bowl. Cover with a damp cloth and let it rise in a warm spot until doubled in size, approximately 1 hour 30 minutes. This slow fermentation develops complex flavors and a well-structured crumb.
- Divide and shape: Gently deflate the dough and divide it into four equal portions. Shape each into a loaf by folding edges toward the center, creating surface tension for a beautiful crust.
- Proof: Place the shaped loaves on parchment-lined baking sheets or in bannetons. Cover and let them rest for 45 minutes to rise until puffy but not overproofed.
- Preheat your oven: While proofing, preheat to 450°F (230°C) with a baking stone or heavy tray inside for even heat distribution.
- Slash and steam: Just before baking, use a sharp blade to make slashes on the tops of the loaves. Add a pan of hot water to the oven’s bottom rack or mist the oven with water to create steam. Steam produces a glossy crust and helps dough expand gracefully.
- Bake: Place loaves in the oven and bake for 30-35 minutes until golden brown and hollow-sounding when tapped. Rotate trays halfway for even baking.
- Cool completely: Transfer loaves to a wire rack. Waiting at least 1 hour is crucial as the crumb finishes setting and moisture distributes evenly inside the bread.
Expert Tips for Storing and Freezing Bread to Maintain Freshness
Once cooled, keep your batch bread fresh by wrapping loaves in linen or paper bags to allow airflow and prevent sogginess. For longer storage, slice the bread and freeze in airtight bags. Toast slices directly from the freezer to enjoy that just-baked crispness. Avoid plastic wrap for room temperature storage as it traps moisture and softens the crust.
Tips for Success When Mastering Batch Bread
- Flour choice matters: Blend half bread flour with all-purpose flour for better gluten development and chew.
- Hydration balance: Adjust water quantity slightly based on your flour’s absorbency-dough should be tacky, not overly wet.
- Fermentation control: Cooler ambient temperatures require longer rising-don’t rush the proofing.
- Use a baking stone or Dutch oven: These tools mimic professional ovens and create optimal crust texture.
- Experiment with add-ins: Incorporate herbs, olives, nuts, or seeds during initial mixing for personalized loaves.
Serving Suggestions
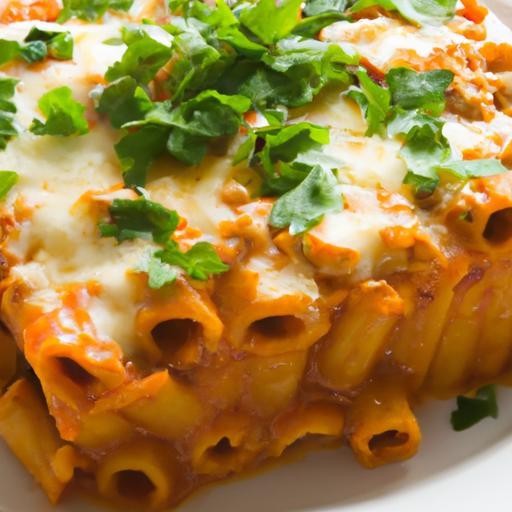
Warm slices of your homemade loaves with a pat of rich butter and a drizzle of honey for breakfast bliss. For lunch, pair the bread with creamy cheeses, tangy pickles, or hearty soups. Garnish a rustic bread basket with fresh rosemary sprigs or edible flowers to elevate any gathering.

Nutritional Information (Per Medium Loaf)
| Calories | Protein | Carbohydrates | Fat |
|---|---|---|---|
| 380 kcal | 11 g | 76 g | 3.5 g |
For additional inspiration and techniques on artisan bread baking, explore our artisan bread techniques guide. For an in-depth look at yeast fermentation science, visit King Arthur Baking’s yeast guide.
Q&A
Q&A: Mastering Batch Bread – Homemade Loaves from Scratch Made Easy
Q1: What makes batch bread different from baking a single loaf?
A1: Batch bread transforms your baking routine by creating multiple loaves at once, saving time and effort. Instead of mixing dough every few days, you prepare a large batch, portion it out, and enjoy fresh bread whenever you want. It’s like having a mini bakery at home!
Q2: Is batch bread baking complicated for beginners?
A2: Not at all! With simple ingredients and easy-to-follow steps, batch bread is incredibly approachable. Once you get the hang of kneading and proofing, you’ll find the rhythm relaxing and rewarding. Plus, batching means fewer rounds of setup and cleanup.
Q3: What are the key ingredients needed for batch bread?
A3: At its core, batch bread relies on flour, water, yeast, salt, and sometimes sugar or oil depending on the recipe. The beauty is in its simplicity-quality ingredients and a little patience yield crusty, flavorful loaves.
Q4: How do I store extra loaves from my batch to keep them fresh?
A4: Freshness is king! Cool your loaves completely before storage. For short-term, wrap in a clean kitchen towel or paper bag to maintain crust. For longer storage, freeze sliced loaves in airtight bags-just toast or warm slices straight from the freezer.
Q5: Can I customize batch bread with different flavors or add-ins?
A5: Absolutely! Once you’ve mastered the base dough, experiment with herbs, seeds, nuts, olives, or dried fruits. Each added ingredient brings a new personality to your loaves, making batch bread as creative as it is comforting.
Q6: How does batch bread contribute to a sustainable kitchen?
A6: Baking in batches reduces energy and resource use by maximizing your oven’s efficiency. Plus, homemade bread cuts down on packaging waste and allows you to control ingredients-making your bread both eco-friendly and nourishing.
Q7: Any tips for perfect batch bread every time?
A7: Patience and consistency are your best friends. Use a kitchen scale for precise measurements, let the dough rise adequately, and don’t rush the baking. Each loaf tells you a story-listen to it, and soon you’ll be baking like a pro!
The Way Forward
As the aroma of freshly baked loaves fills your kitchen and your batch bread rises to golden perfection, you’ll realize that mastering this craft is more than just baking-it’s a journey into tradition, patience, and creativity. With these simple techniques and tips, homemade bread no longer remains a daunting task but transforms into an enjoyable, rewarding ritual. Whether you’re feeding a family or sharing with friends, your batch breads will bring warmth, comfort, and a delicious sense of accomplishment to every table. So roll up your sleeves, embrace the art of dough, and let each loaf tell your story-because mastering batch bread is mastering the heart of home baking.


